


Gel Nail Polish
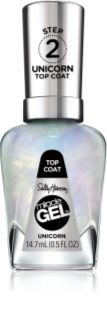
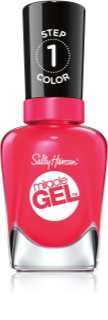
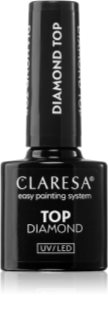
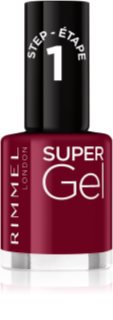
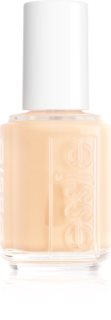
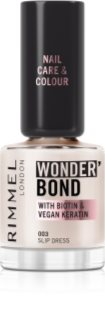

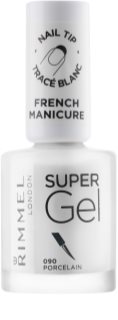
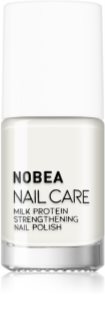
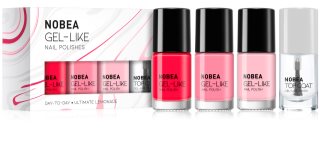
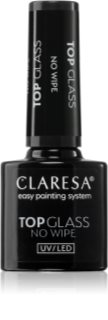
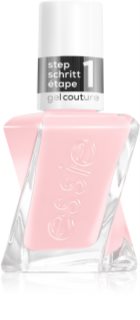
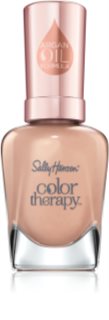
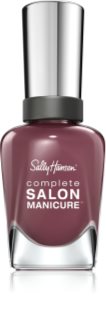
Gel Nail Polish: Gel polishes for UV lamps and those not requiring curing
A perfect manicure that lasts for weeks without a single scratch? Try our long-lasting gel nail polishes. Whether you’re a complete beginner at gel manicures or an experienced pro, there’s something for everyone in our wide selection. Let’s take a look together at what gel nail polish actually is, how to choose the right one, and how to work with it.
What is gel nail polish?
Gel nail polish is extremely durable, has rich colour, doesn’t chip, and retains its high gloss for up to several weeks. This is because it combines the properties of traditional nail polish and building gels. It is also commonly referred to as “gel polish.”
Unlike traditional nail polish, it does not dry in the air but is cured (or “baked”) in a nail lamp. This process, called polymerisation, transforms the liquid polish into a solid, durable layer. As a result, a gel manicure is resistant to chipping and peeling.
There are also gel polishes that don't require a lamp and offer a similar effect—you don't need to cure them. However, they are typically a little less durable.
How to choose the best gel nail polish
Your choice depends mainly on what you expect from your manicure and how much time you want to spend on it. Let's take a look at the different types of gel polishes.
Gel nail polish for UV or LED lamps
Gel polishes for use with a UV lamp are popular for both home and professional use. They offer the longest-lasting results and the greatest durability. They’re ideal for anyone who wants a flawless manicure that can easily last 2–3 weeks. They require an investment in a UV lamp, but the results are definitely worth it.
Gel nails consist of 3 layers. Each layer must be cured under a lamp.
- Base gel polish: A base coat for nails that ensures perfect adhesion to the natural nail.
- Coloured UV gel nail polish: For the perfect colour or manicure design.
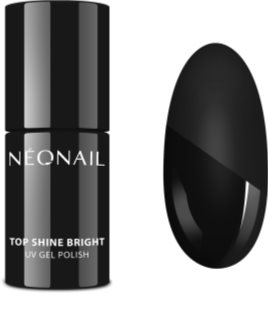
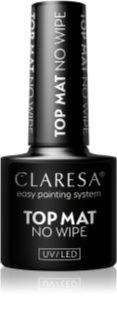
- Top coat gel polish: A clear top coat gel polish that seals everything onto the nail.
That's the basics. But there are also special options, such as:
- 3-in-1 gel nail polish: Combines all three base coats into a single polish. This makes a gel manicure even easier and faster.
- Peel-off gel nail polish: A polish that adheres less strongly to the natural nail. This makes it easy to remove in one piece by peeling it off—ideal if you like to change your manicure often. It’s available either as a peel-off base coat or as a 3-in-1 peel-off gel polish.
In addition to classic colours, you can also experiment with a wide variety of effects. Popular ones include:
- Magnetic gel nail polish: Contains metallic particles that you can move around the nail and create a rippled effect using a special magnet.
- Thermo gel nail polish: It contains heat-sensitive pigments, so the colour of your nails changes depending on whether it's warm or cold.
Building gel for nails for use with a UV lamp
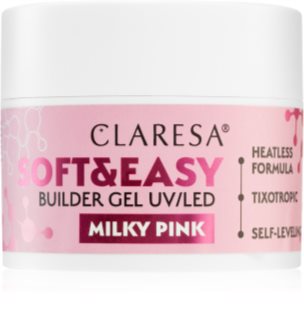
Builder gel is thicker than gel polish and is used to shape, strengthen, and extend nails. It’s the ideal choice if you have weak, brittle, or short nails and want a new shape and length.
The gel creates a strong, durable layer that protects the natural nail while giving it the desired shape. It is used with nail formers. There are both coloured nail gels and clear builder gels, over which you can then apply nail polish.
Which nail gel is the best? Choose the right one:
- Three-phase gel: A professional system that includes separate base, builder, and top gels.
- Single-phase gel: A convenient option that combines all three phases into one product.
In addition to the basic types, there are also other specialised building gels for nails:
- For example, polygel (acrygel) is a popular choice because it combines the best of both gel and acrylic—it’s thick, doesn’t run, and is great for sculpting.
- For extra strength for brittle nails, try a fibre gel with added glass fibres.
- If you're in a hurry, you'll appreciate self-levelling gel, which spreads beautifully over the nail on its own.
- And for sensitive nails and skin, there's also a hypoallergenic nail gel that minimises the risk of irritation.
What is the difference between a UV lamp and an LED lamp?
Both types of lamps look similar, but they differ in curing time and, in some cases, compatibility with different lines of gel nail polishes.
- A UV lamp is a more traditional technology. It cures the gel nail polish using UV bulbs in under 2 minutes. Some older or specialty gels may be labelled “UV-only” and require a standard UV lamp.
- An LED lamp cures nail polish using LED diodes and is faster—it takes just a minute or less. Although it has a slightly higher purchase price, you don't have to replace the bulbs regularly.
- A UV/LED lamp, also known as a dual lamp, combines UV and LED light. These days, most nail lamps fall into this category, and UV/LED gel nail polishes—which work with UV, LED, and dual lamps—are also common.
Gel nail polish without a lamp
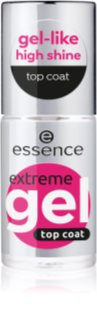
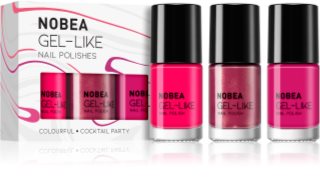
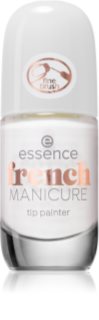
Do you want the look of gel nails but don’t have a lamp or don’t want to go through a complicated process? The solution is so-called gel-effect nail polish. This lamp-free gel polish is applied just like regular nail polish—simply let it air dry. However, it has a higher shine and lasts longer. You can remove it with regular nail polish remover.
How do you properly apply gel nail polish at home?
The key is to be careful and follow the correct procedure. Here are the instructions for a manicure using gel nail polish and a lamp:
1. Preparation
How do you prepare nails for gel nail polish?
First, shape the nails with a nail file. Then gently push back the cuticles. Lightly buff the nail surface with a buffer to help the polish adhere better. Finally, thoroughly clean the nails with a degreaser or nail polish remover.
2. Application of the polish
What do you put under gel nail polish?
As a first step, apply a thin layer of base coat gel polish. Be careful not to let the polish touch the cuticles. Then cure the base coat under the lamp.
How many layers of gel nail polish?
Ideally, apply the coloured gel nail polish in two thin coats. Cure each coat separately under the lamp. This will ensure a rich and even colour.
How do you apply the top coat?
Finally, seal everything with a layer of top coat. This will give the nails a dazzling shine and protect the manicure from damage. Be sure to cure this layer thoroughly under the lamp as well.
3. Curing under the lamp
How long should you cure the gel nail polish?
Usually, 30–60 seconds under an LED lamp or 2 minutes under a UV lamp is sufficient for each layer.
The curing time may vary depending on the type and wattage of the lamp and the specific product, so always follow the manufacturer's instructions.
4. Removing gel nail polish
How do you remove gel nail polish?
File down the top layer of the top coat. Then place a cotton pad soaked in acetone on your nail, wrap your fingertip in aluminium foil, and let it sit for 10–15 minutes. You can then easily remove the softened gel polish with an orange stick.
Common Problems and Questions
Why is the gel nail polish cracking?
This is most often due to a layer of polish that is too thick, insufficient curing under the lamp, or the use of low-quality products. Mechanical stress on the nails can also cause the polish to crack.
Why doesn't the gel polish stay on?
The cause may be a natural nail that was not properly prepared or degreased before application. The polish then has nothing to adhere to. Sometimes the problem is also caused by applying the polish to the cuticle, where it begins to peel off over time. The solution is to thoroughly degrease the nail, apply the polish in a thin layer without touching the cuticle, and always cure it properly.
Why does gel nail polish peel?
The polish may peel off the tips of your nails if you don't apply it to the edges as well as the surface of the nail. Peeling near the cuticles, on the other hand, indicates that the polish has seeped onto the skin.
Why is gel nail polish sticky?
A sticky layer after curing (known as “blistering”) is completely normal and is part of the chemical process. It helps the next layer adhere properly. Wipe away the blistering with a degreaser only at the very end, after the top coat has cured. If the polish is still sticky even after degreasing, it has likely not cured properly.
How long does gel polish last?
When applied correctly and using high-quality products, gel polish usually lasts 2–3 weeks in pristine condition. After that, it’s a good idea to get a new manicure because the natural nail has grown out.
What is the difference between gel and gel nail polish?
Gel nail polish is thinner and is primarily used as a colourful coating for natural nails.
Building gel is thicker and stronger, and is used to strengthen, shape, and extend nails.
How does gel nail polish damage nails?
Gel polish itself does not damage the nails. Damaged nails after using gel polish are usually caused by a combination of filing and acetone, which dries out both the nails and the surrounding cuticles. Sometimes it’s also caused by roughly peeling off the polish before it has completely softened.
If you repeat this process frequently, it can weaken, dry out, or thin your nails. That’s why it’s important to give your nails nourishing care and time to regenerate after removing your manicure.
How to regenerate your nails after a gel manicure?
If your nails are weakened after removing gel polish, give them a few days’ break from polish. Trim them regularly to prevent breakage, and nourish them thoroughly. Use strengthening or nourishing polishes regularly, and don’t forget to apply oil to your nails and cuticles.
Summary
Gel nail polishes provide a highly durable, high-gloss manicure. You can choose between classic gel polish or use builder gels for nail extensions. The key to success is to follow the correct procedure. First, file and degrease the nail, then apply individual layers and cure each one under a nail lamp. After that, simply wipe away the sticky residue, and your picture-perfect manicure is complete. And for those who don’t have a lamp, there’s also gel nail polish that doesn’t require a UV lamp.
Discover gel polishes for both home and professional use at Notino
In addition to a wide range of colours, we also carry all the necessary supplies—from nail files to lamps to nail care products. Explore our selection and choose the best gel polishes for you.